


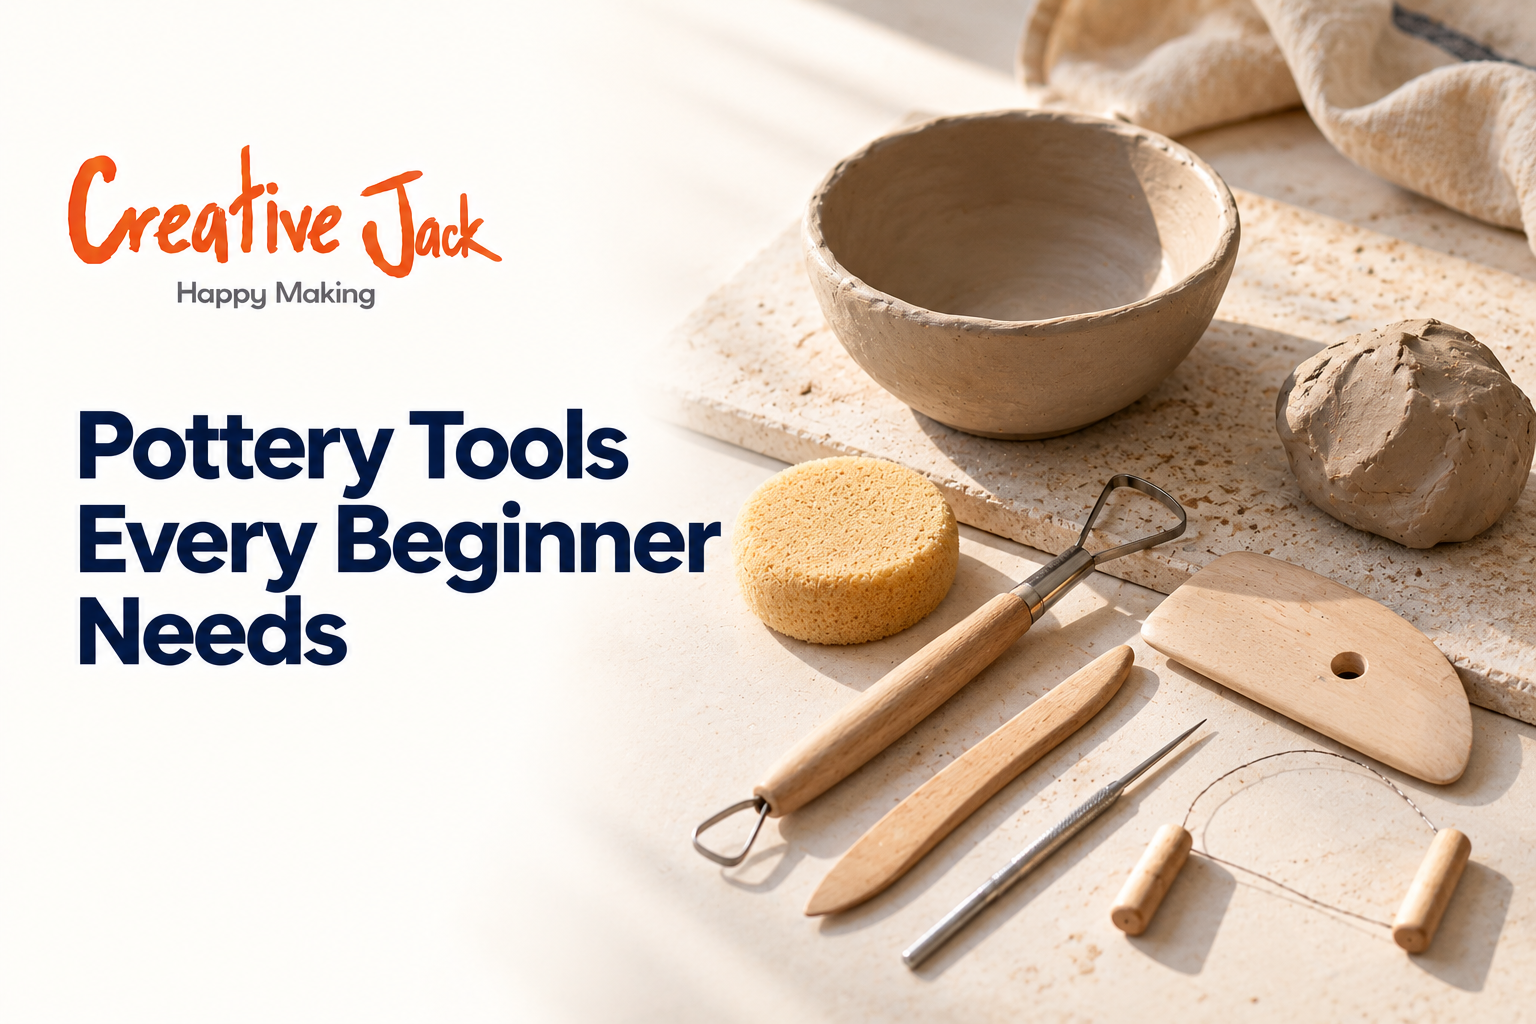
Pottery Tools and Materials Every Beginner Needs
A beginner needs surprisingly little to start pottery: a block or two of suitable clay, a flat working surface, a bowl of water, a sponge, a needle tool, a wire cutter, a few wooden or plastic modelling tools, a rolling pin, and a rib for smoothing. Everything else can wait. Spend your money on good clay and a handful of basic tools, and borrow or rent the expensive items such as wheels and kilns until you know you will use them.
What You'll Find in This Article
• The short list of tools that are worth buying first
• What each tool does, in plain language
• The pottery materials you need besides clay
• How to choose a clay for sculpting or pottery
• What to leave in the shop until later
Why Tool Lists Feel So Overwhelming
Open any pottery supply catalogue and you will find hundreds of items, from fettling knives to extruders. It is easy to assume you need most of them, and that is exactly how people end up with a bag of unused gadgets and a drawer they never open.
In practice, a small set of tools does almost everything in your first few months. Studios often supply these as part of a class, which is another reason to try a session before buying anything.
The Basic Toolkit
A needle tool. It looks like a pen with a sharp point. You use it to score clay before joining, to cut clean lines, to poke out trapped air, and to trim edges. If you only buy one tool, this is the one.
A wire cutter. Two handles with a thin wire between them. You pull it through a block of clay to slice off the amount you need, and to cut a piece off a wheel or board. A short length of picture wire with two sticks will do in a pinch.
Wooden modelling tools. A few shapes cover most needs: a flat paddle, a pointed tool, and a rounded end. They help you smooth, push, and shape clay without using your fingers every time. A set of cheap ones is fine.
A rolling pin. Needed for slab work. A normal kitchen rolling pin works, and two strips of wood as guides give you even thickness.
A sponge. A small natural or synthetic sponge for smoothing and cleaning up. Keep it damp, not dripping.
A rib. A thin flat piece of wood, rubber, or metal used to compress and smooth the surface. A credit card works as a beginner substitute.
A loop tool. A wire loop on a handle, used to carve or hollow out parts of a piece. Not essential on day one, but useful soon after.
A bowl of water. Plain, but you will use it constantly.
A work surface. Canvas, a wooden board, or a sheet of plaster works well. Plastic and glass are too slippery and cause sticking.
An apron or old clothes. Clay washes out of some fabrics and not others, so wear something you won't mind marking.
The Materials Beyond Tools
When people ask about pottery materials, they usually mean the clay itself, but there is a bit more to it.
Clay. The main material. Choose a smooth, beginner-friendly clay at first. Our complete beginner's guide to pottery explains the main types.
Slip. Liquid clay used as glue when joining pieces. You can make it yourself by mixing a little clay with water to the consistency of cream.
Plastic sheeting. Wrap unfinished pieces to keep them from drying too fast.
Sandpaper or a fine sanding sponge. For air-dry clay, to smooth rough edges after drying.
Paints and sealers. Acrylic paint and a clear varnish work for air-dry clay. Kiln clays use glazes instead.
Glazes and a kiln. Only needed if you are using kiln-fired clay. A studio usually handles this part for you.
Clay pottery materials differ by clay type, so check the label before you buy a finishing product. Some paints do not stick to certain clays, and some varnishes are not safe near food. Material pottery guides in the shop can feel dense, so ask the seller to explain anything unclear.
Picking the Right Clay
If you search for a good clay for sculpting, you will get a long list. Here is how to think about it.
For pottery and bowls. Choose a smooth, plastic clay that stays workable but is not sticky. Terracotta works well and is easy to find in India.
For sculpting. The best sculpting clay depends on what you want to make. Firmer clays hold detail and keep their shape. Softer clays move easily but sag on taller forms. Terracotta clay for sculpting, with a bit of grit, is a good middle ground, and air-dry sculpting clays suit those without a kiln.
For beginners. Kinds of clay for sculpting range from oil-based modelling clays to water-based earth clays. Water-based clays are the type most pottery classes use, because they can be reworked until fired or dried. The type of clay for sculpting that suits you depends on whether you want to fire it, paint it, or leave it natural.
Sculpting materials also include armatures, which are wire or foil frames used inside larger figures to give them support. You will not need one for small pieces, but it becomes handy once you are working above about twenty centimetres.
Things You Can Skip for Now
A pottery wheel. Wonderful, expensive, and not necessary at the start. Join a class if you want to try one.
A kiln. Needs space, ventilation, and training. Studios fire pieces for you.
Fancy glazes. Wait until you have a few bisque-fired pieces to cover.
Specialist trimming tools. Useful for wheel work, so leave them until you throw.
Too many sizes of everything. Start with one or two of each.
A Small Detail Most Beginners Miss
Once you start making things you like, you will want to sign them. A small stamp or a carved initial on the base is called a maker's mark, and it makes a piece feel finished. You can carve your initials with a needle tool, or press a small stamp into the base while the clay is still soft. Some potters design a small pottery logo for this purpose, often a simple symbol or monogram, and use it on every piece they sell. It is a nice thing to think about early, even if you do not use it yet.
How to Look After Your Tools
Clean tools after every session, because dried clay is hard to remove. Wash with water and dry them fully so metal parts do not rust. Keep sponges clean, and store everything in a box so that sharp tools do not poke through fabric. Treat using clay as a routine: set up, work, clean up. A tidy habit saves time and helps your tools last.
See the Tools in Use
Seeing how a tool is held makes a big difference. You can watch tool demonstrations on the Creative Jack YouTube channel, or browse student work on Instagram.
What We Provide at Creative Jack
In our beginner Pottery Classes course, students work with air-dry clay and terracotta clay and learn clay handling and material knowledge as part of the course. Ask us when you enquire about exactly what is supplied for your batch, so you only buy what you need.
FAQs
What is the one pottery tool I should buy first? A needle tool. It helps with scoring, cutting, and fine detail, and it costs very little.
Do I need a wheel to practise pottery at home? No. Hand building needs only clay, a surface, and a few simple tools.
Can I use kitchen tools? Yes, many are fine. A rolling pin, a butter knife, a fork for texture, and old toothbrushes work well.
How much clay should I buy? A small amount at first, enough for a few small pieces. Keep unused clay wrapped airtight so it stays soft.
Is air-dry clay good for beginners? Yes. It needs no kiln, and it is a gentle way to learn the feel of clay.
What is the difference between modelling clay and pottery clay? Modelling clay is oil-based and never hardens. Pottery clay is water-based and hardens when dried or fired.
Buying Supplies in Mumbai and Pune
If you are in Mumbai, Navi Mumbai, or Pune, ask your studio where they source clay and tools before you shop. Local suppliers differ in quality, and a good recommendation saves guesswork.
Want to Try the Tools Before You Buy?
Join a session and use the studio's tools first. book a trial class, or message us on WhatsApp.
Related reads: Pottery for Beginners: Complete Guide | Hand Building vs Wheel Pottery : Which to start with | How Pottery Classes Work
Tags :
- pottery materials
- material pottery
- clay pottery materials
- sculpting materials
- kinds of clay for sculpting
- type of clay for sculpting
- good clay for sculpting
- best sculpting clay
- terracotta clay for sculpting
- pottery logo
- beginner pottery tool kit
- needle tool and wire cutter
- what to buy for pottery at home