


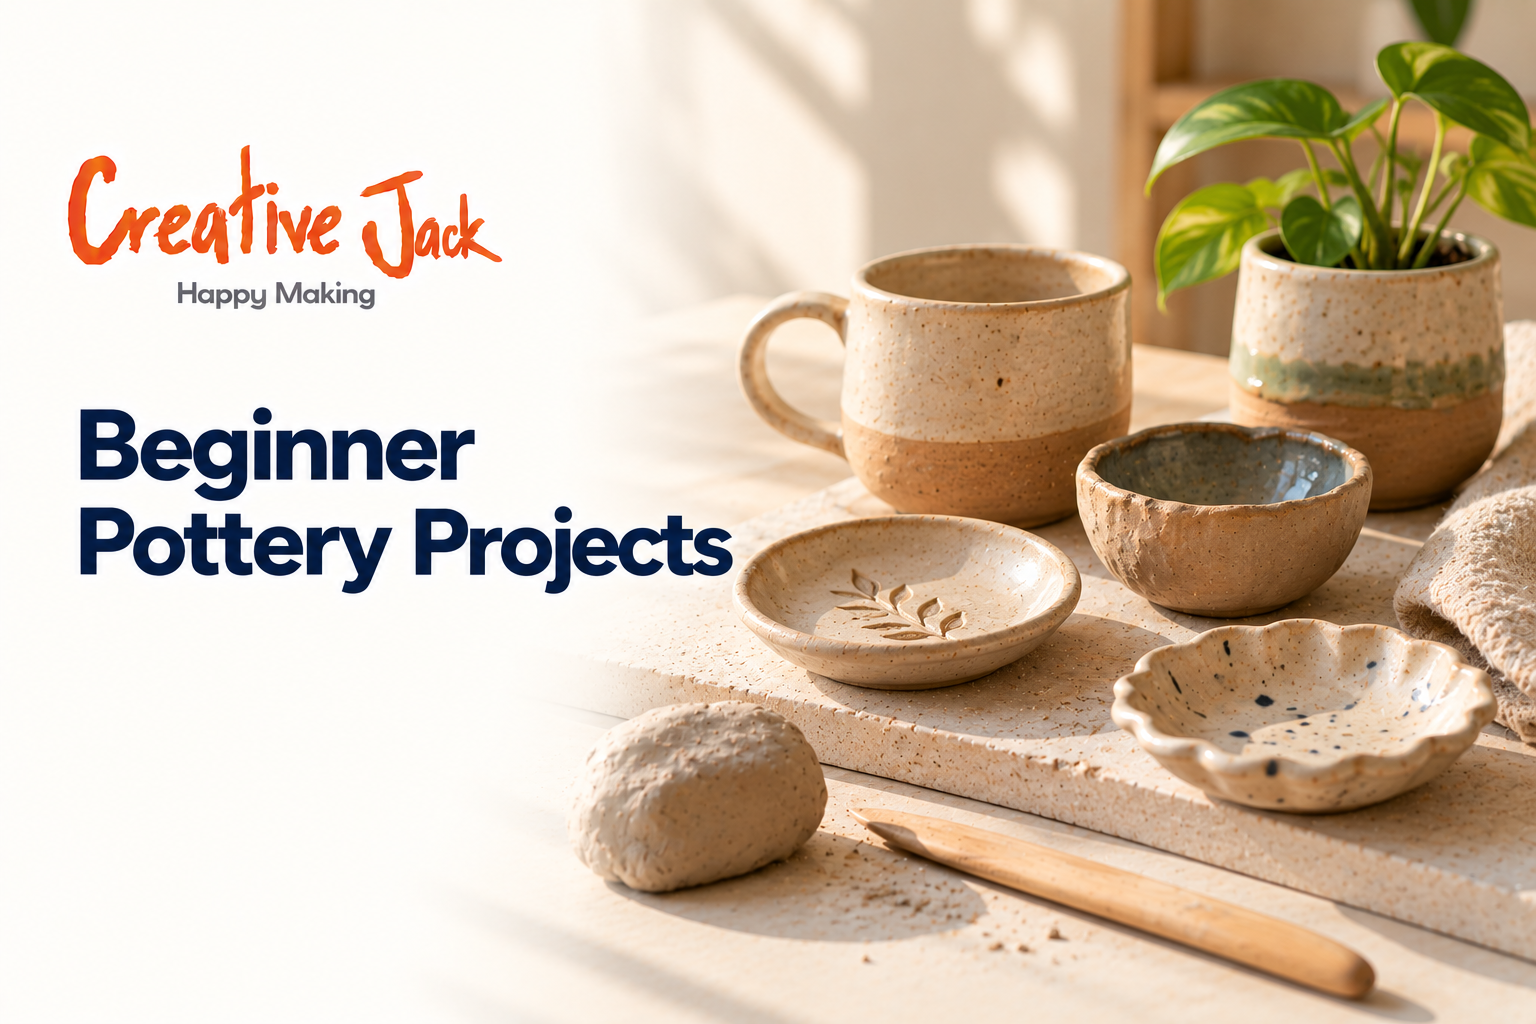
10 Beginner Pottery Projects: Easy Clay Ideas to Try
The best beginner pottery projects are small, forgiving, and finish quickly: a pinch pot, a trinket dish, a coil planter, a tealight holder, a set of slab coasters, a leaf-print bowl, a clay tile, a painted terracotta pot, a small animal figure, and a pendant or bead set. Each one teaches a single skill, so you can move through them in order and feel yourself getting better.
What You'll Find in This Article
• Ten pottery ideas, ordered from easiest to a little more challenging
• Step-by-step instructions for each
• The clay, time, and tools each project needs
• Tips for avoiding the usual cracks and slumps
• How to finish and display your work
Why the First Project Matters More Than You Think
A lot of people choose a project because it looks good on social media and not because it suits where they are. A tall vase with a narrow neck looks lovely, and it is also a poor choice for a first attempt. The walls need to be even, the base needs to be stable, and the neck needs to close in without collapsing. It is the sort of project that makes beginners quit.
A better plan is to start with something that gives you a quick win. Each of the projects below is small and manageable, and each one introduces a technique you will use again. Do them in order and you will have a solid foundation by the end.
You can use air-dry clay or terracotta clay for all of these. If you are working with kiln clay, your studio will explain firing and glazing. If you are working at home with air-dry clay, you will finish with sanding, paint, and sealer.
1. The Pinch Pot
Skill: Opening and thinning a ball of clay evenly. Time: 20 to 30 minutes.
Roll a ball of clay about the size of a tangerine. Push your thumb into the centre, leaving a bit of thickness at the base. Pinch the walls between your thumb and fingers while rotating the ball, working from the bottom upwards. Smooth the rim with a damp finger. Tap the base on the table so it sits flat.
Tip: If the rim cracks as you pinch, the clay is too dry. Dampen your fingers lightly and smooth the crack.
2. A Trinket Dish
Skill: Flattening and shaping with even thickness. Time: 30 minutes.
Roll out a slab of clay about half a centimetre thick. Cut a circle or a freeform shape using a knife or a small bowl as a guide. Lift the edges slightly with your fingers to form a shallow rim. Smooth the surface with a damp sponge. Press a leaf, lace, or button into the clay for texture.
Tip: Rest the dish over a crumpled paper towel while drying, so the rim keeps its curve.
3. A Coil Planter
Skill: Rolling coils and joining them. Time: 1 to 1.5 hours.
Make a flat circle for the base. Roll ropes of clay about a finger's width. Scratch the edge of the base, add a little slip, and place the first coil around the edge. Add more coils on top, scratching and slipping each layer. Smooth the inside and outside with your thumb or a wooden tool. For a terracotta look, leave the coils visible for texture.
Tip: Do not forget a drainage hole in the base if the planter will hold a real plant. Cut it while the clay is still soft.
4. A Tealight Holder
Skill: Making a stable, even form with cut-outs. Time: 45 minutes.
Make a small pinch pot or a short coil cylinder, about the height of a tealight candle plus a little extra. Before it dries, use a needle tool or a small cutter to carve shapes into the walls, such as stars, dots, or leaves. When the light shines through, the cut-outs glow.
Tip: Use an LED tealight with air-dry clay. A real flame is only safe with properly fired kiln clay.
5. Slab Coasters
Skill: Rolling even slabs and cutting clean shapes. Time: 45 minutes to 1 hour.
Roll the clay to about half a centimetre, using two strips of wood as thickness guides. Cut four squares or circles. Smooth the edges with a damp sponge. Press in a pattern or stamp your initials. Place them between sheets of paper under a light weight as they dry, so they stay flat.
Tip: Warping is the usual problem with coasters. Turn them over once a day while they dry.
6. A Leaf-Print Bowl
Skill: Texture and form together. Time: 45 minutes.
Roll a slab, lay a large leaf with clear veins on top, and roll over it once so the veins print into the clay. Peel off the leaf and cut around the shape. Drape the slab over a small bowl lined with cling film, and let it dry into a curve. Lift it out when firm.
Tip: Pick leaves with deep veins, such as banyan or peepal, for the best prints.
7. A Clay Tile or Name Plate
Skill: Surface work and lettering. Time: 45 minutes.
Roll and cut a square or rectangle. Use a toothpick or pen to write a name or house number. Press in small stamps, or carve a simple design. Make a small hole at the top if you want to hang it.
Tip: Sketch the design on paper first, then trace it lightly onto the clay with a pin before carving.
8. A Painted Terracotta Pot
Skill: Decorating and finishing. Time: 1 to 2 hours, plus drying.
Pot painting is one of the most popular and least intimidating pottery projects, since the pot is ready-made and you simply decorate it. Wipe a plain terracotta pot clean. Apply a coat of white or light primer if you want colours to look brighter, then let it dry. Sketch a pattern lightly in pencil, then paint with acrylics. Seal with a clear varnish, inside and out if it will hold wet soil.
Art on clay pots can range from simple stripes and dots to detailed florals, and it is a gentle way to practise painting before you move to your own handmade pieces. Pots art also makes a lovely gift. If you like the idea of arty pots on a balcony or windowsill, this is the easiest way to start, and you can combine it with your own coil planter later.
Tip: Keep the painted area away from the drainage hole so water does not wear the paint.
9. A Small Animal Figure
Skill: Shaping simple three-dimensional forms. Time: 1 hour.
Build the body from a ball of clay, and add a smaller ball for the head. Attach legs, ears, and a tail using scratch and slip. Smooth the joins so they disappear. Add eyes with a pin or a small tool. A hedgehog, a cat, or a bird are good first choices.
Sculpture pots are a related idea, where a pot gets a figure or face attached to it, such as a planter with a little animal peeking over the edge.
Tip: Keep forms chunky. Thin legs and tails break easily while drying.
10. A Pendant or Bead Set
Skill: Small-scale work and finishing. Time: 45 minutes, plus drying.
Roll small shapes, such as circles, drops, or leaves, and flatten them slightly. Press in texture and poke a hole through each with a straw. Let them dry completely. Sand any rough edges, then paint and seal. Thread them on cord.
Tip: Make the hole slightly larger than you think you need, because clay shrinks as it dries.
Step by Step Clay Art: What to Do After Your First Ten
Once you have worked through these, you will have a sense of what you enjoy. If you love shapes and texture, move toward slab work and tiles. If you like figures, spend more time on clay artwork in the sculptural direction. Step by step clay art guides for larger pieces, such as a bust, a vase, or a lidded jar, are easier once you have the basics of joining and drying in your hands. You can also try combining techniques, for example a slab base with a coil rim.
Plenty of people also like the idea of artwork clay can make for the home, such as wall hangings, mirror frames, and house numbers. These are a natural next step because they use the same slab and texture skills. Collect your finished clay pieces somewhere visible, so you can see your progress over time.
Tips for Avoiding Cracks and Slumps
• Keep wall thickness even.
• Join with scratch and slip.
• Dry slowly, away from sun and fans.
• Support tall or heavy pieces while they dry.
• Do not add too much water.
• Smooth cracks while the clay is still damp.
Finishing and Displaying Your Work
For air-dry clay, sand lightly once the piece is bone dry, paint with acrylics, and seal with a clear varnish. For kiln clay, your studio will bisque fire, glaze, and fire again. Display your pieces on a shelf, in a window, or in a group. A cluster of small handmade items looks better than a single one.
See Projects Come Together
You can watch some of these projects on the Creative Jack YouTube channel, and see finished student pieces on Instagram.
How Creative Jack Uses Projects in Class
In Creative Jack's beginner Pottery Classes course, students create simple pots, plates, and other basic clay forms, then move on to building stable structures and adding texture and surface detail, applying what they learn to creative clay projects of their own. Many of the ideas above are the kind of thing you would work on in that progression.
FAQs
What is the easiest pottery project for a beginner? A pinch pot. It teaches the feel of clay and needs no special tools.
How long do beginner pottery projects take? Most take between 20 minutes and two hours, plus drying time.
What clay should I use for these projects? Air-dry clay or terracotta clay are both good choices for beginners.
Why did my clay piece crack? Usually because it dried too fast or the walls were uneven. Dry slowly and keep thickness consistent.
Can I paint air-dry clay? Yes. Wait until it is fully dry, then use acrylic paint and seal with varnish.
Can I use my homemade pieces for food or drink? Not if they are made from air-dry clay. Use them for decoration, plants, or keepsakes.
Beginner Pottery in Mumbai and Pune
If you are in Mumbai, Navi Mumbai, or Pune, you can work through projects like these in a guided class at Art Station Andheri West, Khar West, CBD Belapur, or FC Road. Check the course page for current batches.
Ready to Make Your First Piece?
book a trial class, or message us on WhatsApp.
Related reads: Pottery for Beginners: Complete Guide | Pottery Tools Every Beginner Needs | Pottery as Stress Relief