



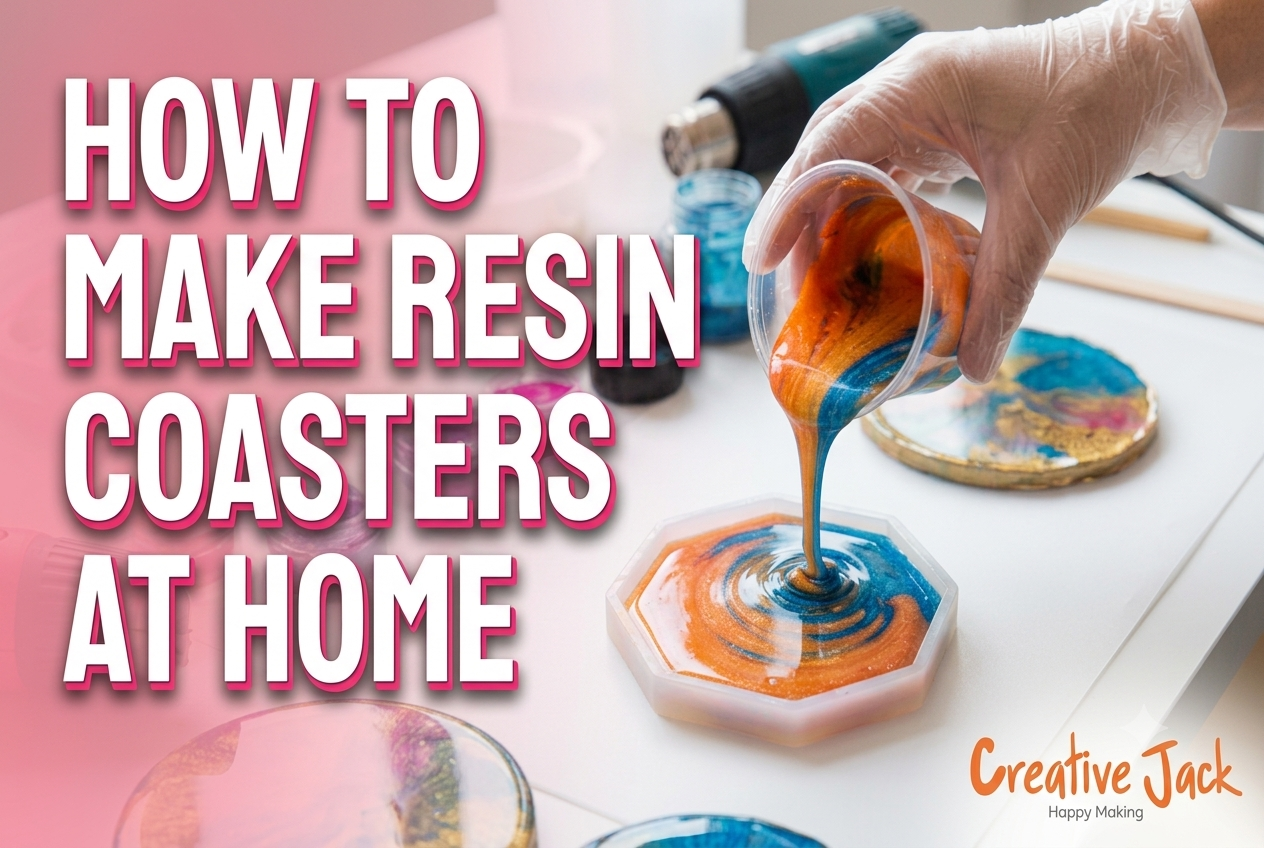
How to Make Resin Coasters at Home (Step-by-Step Guide 2026)
Making resin coasters at home requires epoxy resin, a hardener, silicone coaster moulds, pigments, and basic safety equipment. The process takes about 30 minutes of active work and 24–48 hours of curing time. Coasters are the best first resin project for beginners — they're small, forgiving, and produce genuinely impressive results even on your very first attempt.
In This Guide, You'll Learn:
-
The exact materials you need to make resin coasters at home in India
-
A step-by-step process from mixing to demoulding
-
Colour and design techniques for stunning results
-
The most common mistakes beginners make with coasters
-
How to take your resin skills further with structured learning
Why Coasters Are the Perfect First Resin Project
Resin can feel intimidating when you look at large fluid art pours or river table projects. The quantities are big, the stakes feel high, and mistakes are expensive.
Coasters remove all of that pressure.
A standard set of 4 coasters uses less than 200ml of resin total. The silicone moulds are inexpensive and reusable. If something goes wrong — the colour isn't what you expected, a bubble appeared, the pour was uneven — you've lost very little and learned a great deal.
And when they go right, which they usually do with even basic guidance, you end up with something genuinely beautiful and functional that people immediately want to buy or receive as a gift.
Start here. Build your confidence. Then scale up.
What You Need (Complete Materials List)
For the resin:
-
Epoxy resin + hardener (a 1:1 or 2:1 ratio kit — check your brand's instructions)
-
Measuring cups with clear ml markings (silicone cups are easiest to clean)
-
Silicone stir sticks or wooden craft sticks
-
Nitrile gloves — non-negotiable. Wear them from the moment you open any resin container
For the moulds:
-
Silicone coaster moulds — round, square, or hexagonal (widely available on Amazon India, IndoKraft, and local craft stores in Mumbai like those in Dadar and Crawford Market)
-
Standard coaster moulds are typically 9–10 cm diameter, 6–8 mm deep
For colour and design:
-
Alcohol inks, epoxy pigment powders, or a small amount of acrylic paint
-
Gold or silver metallic powder (optional but adds a striking effect)
-
Dried flowers, glitter, or foil flakes if you want inclusions
For finishing and safety:
-
A small butane torch or heat gun (for popping surface bubbles)
-
A level surface to place your moulds on while curing
-
A dust cover — a large cardboard box inverted over the moulds works perfectly
-
A respirator mask rated for organic vapours and good ventilation in your workspace
Approximate cost in India: A complete beginner coaster kit (resin, moulds, pigments, gloves, stir sticks) costs between ₹1,200 and ₹2,500 depending on brand and quantity.
Step 1: Prepare Your Workspace
Before you open any resin container, get your space ready.
-
Work near an open window or in a well-ventilated area
-
Lay down a silicone mat or plastic sheet — resin drips are permanent on most surfaces
-
Place your silicone moulds on a flat, level surface (check with a spirit level — even a slight tilt will cause an uneven coaster)
-
Have your gloves, mask, and all materials within reach before you start
-
Ensure room temperature is between 24–28°C — Mumbai's climate is naturally well-suited for resin work for most of the year
Step 2: Measure and Mix Your Resin
This step is the most technically important — get it right and everything else follows easily.
-
Check your resin brand's mixing ratio. Common ratios are 1:1 (equal parts resin and hardener by volume) or 2:1 (two parts resin to one part hardener)
-
Measure each component separately into your measuring cups — be precise. Even a 5–10% deviation can cause a sticky or incomplete cure
-
Combine both parts into a clean silicone mixing cup
-
Stir slowly and thoroughly for a full 3–5 minutes, scraping the sides and bottom as you go
-
The transfer trick: Pour your mixed resin into a second clean cup and stir for another 60 seconds. This ensures no unmixed resin from the edges of the first cup contaminates your pour
-
Let the mixed resin rest for 1–2 minutes before adding colour — this allows any air introduced during mixing to rise and escape
Your resin should look clear and slightly warm to the touch when properly mixed.
Step 3: Add Colour
Divide your mixed resin into smaller cups — one per colour. For a set of 4 coasters, you'll typically use 3–4 colours.
How much pigment to add:
-
Alcohol ink: 2–4 drops per 50ml of resin
-
Pigment powder: a small pinch — about 1–2% of the resin volume
-
Acrylic paint: no more than 5–10% of total resin volume (too much acrylic can affect the cure)
Stir each colour gently until fully incorporated. Avoid vigorous stirring — slow is better to minimise bubbles.
Popular colour combinations for beginners:
-
Deep navy + white + gold metallic powder (ocean effect)
-
Sage green + cream + copper (botanical feel)
-
Black + white + silver (marble effect)
-
Terracotta + gold + burnt orange (earthy, warm)
Step 4: Pour Into Your Moulds
Now for the satisfying part.
Basic pour (solid colour or gradient): Pour your first colour into the mould, filling about two-thirds. Add your second colour in thin streams. Swirl gently with a toothpick or skewer to blend at the edges without fully mixing.
Layered pour (for depth): Pour a thin base layer of clear or lightly tinted resin. Allow it to partially set for 2–3 hours until it reaches a gel-like consistency. Pour your colour layer on top. This creates visible depth and separation between layers.
Dirty pour (for fluid abstract effect): Layer multiple colours into a single cup without mixing. Pour the entire cup into the mould at once. Tilt the mould gently to spread and merge the colours. The density differences between colours create natural cells and flow patterns.
After pouring, pass your torch or heat gun slowly over the surface — about 10 cm above — in sweeping motions. This pops surface bubbles and can enhance colour movement. Do not hold the heat source still or too close.
Step 5: Cover and Cure
Place your cardboard dust cover over the moulds immediately after pouring. Resin is a magnet for dust, pet hair, and insects while wet.
Curing timeline:
-
Tack-free surface: 8–12 hours
-
Safe to demould: 24 hours (for most standard epoxy resin kits)
-
Fully hardened: 48–72 hours
Do not touch, move, or check the moulds during curing. This is the hardest part for most beginners — but disturbing a pour mid-cure is the most common cause of ruined coasters.
Step 6: Demould and Finish
After 24 hours, flex the silicone mould gently from the outside to release the coaster. It should pop out cleanly. If it's still soft or tacky, leave it for another 12–24 hours.
After demoulding:
-
Sand the back of the coaster lightly with 400-grit sandpaper if it's rough or uneven
-
Wipe with a clean, dry cloth
-
Apply felt pads to the bottom to protect surfaces
-
Optional: Apply a UV-resistant topcoat spray to prevent yellowing over time — especially important in Mumbai's sunlight conditions
Your coasters are complete and ready to use or gift.
What Students Make at Creative Jack
In Creative Jack's Resin Art Course, making coasters is typically one of the first projects students complete — often in their very first session. Within a few sessions, students move on to layered pours, inclusions (dried flowers, metallic foils), and more complex pieces. The structured environment means students understand why each step works, not just how to follow it.
FAQs About Making Resin Coasters
How much resin do I need for a set of 4 coasters? A standard set of 4 round coasters (9–10 cm diameter, 6–8 mm deep) typically requires about 150–200 ml of mixed resin in total. Always mix a little more than you think you need — running short mid-pour is frustrating.
Why did my resin coaster stay sticky after curing? The most common cause is an incorrect mixing ratio or insufficient mixing time. It can also happen if the room was too cold during curing. Unfortunately, a sticky cure cannot be fully fixed — the piece needs to be remade. This is exactly why precise measuring matters so much.
Can I put real flowers in resin coasters? Yes — but the flowers must be completely dry first. Fresh or partially dried flowers contain moisture that will cause browning, rotting, and gas bubbles inside the resin. Dry your flowers using silica gel for at least 1–2 weeks before embedding.
Are resin coasters heat-resistant? Standard epoxy resin coasters are not heat-resistant. Do not place hot cups directly from the kettle or very hot mugs on them — the heat can cause the resin to soften or yellow. They work well with warm cups but not extremely hot ones.
How do I clean resin coasters? Wipe with a damp cloth. Avoid harsh chemical cleaners, abrasive scrubbers, or soaking in water for extended periods. Resin coasters are durable but not dishwasher-safe.
Can I sell resin coasters I make at home? Absolutely. Resin coasters are one of the most popular handmade products in India right now — sold through Instagram, Etsy, local markets, and gifting platforms. Many Creative Jack students start selling their work within a few months of learning.
Want to Learn Resin Art Properly in Mumbai?
Learning to make resin coasters at home is a great start. But if you want to consistently produce beautiful results — and eventually expand into jewellery, trays, wall art, or selling your work — structured guidance makes an enormous difference.
Creative Jack's Resin Art Course covers coasters, fluid art, jewellery, and more — with certified mentors teaching technique, safety, and creative design from day one.
Chat with our team on WhatsApp : +91 83560 65552
Explore More at Creative Jack
Creative Jack — India's Creative Learning Hub. Art and design classes across Mumbai and Pune, for all ages and skill levels.